How to Open Your Outdoor Swimming Pool in Spring
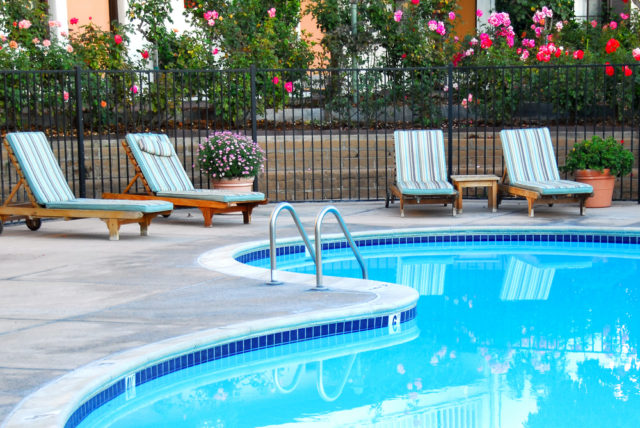
After one of the mildest Januaries on record you might be considering opening your swimming pool early this year. How can you make sure your pool is ready for a brisk spring dip? Please note this guide pertains to chlorinated swimming pools, steps will vary for saltwater or chemical-free pools.
Take care of your pool cover
Whether you use a solid or flexible winter cover, you will want to brush or blow all the debris off it, then drain it before removing. This will minimise the detritus that will fall into your pool water when you remove it, though a small amount of fallout is to be expected.
Once you have removed the cover, give it a thorough clean – after all, it’s been exposed to the elements for months. Brush off any remaining leaf litter and dry it thoroughly before sprinkling it with a specialist alkaline powder or, in a pinch, talcum powder. Store your cover in a cool, dry place where it is safe from excess moisture.
Restore your water level
This one is simple: refill your pool to its normal level using your hose or, even, any water you have saved in water butts over the winter (if you don’t have one, you could get one delivered from Amazon or Screwfix), as long as you chemically-treat your pool.
Reconnect any equipment
If you disconnected your filter, heater and pump ahead of winter, now is the time to put them back in again. Make sure to remove any winterising plugs you installed ahead of the off-season. Give them a good clean and check any seals for water-tightness before plumbing them back in. Then you can turn your system back on and make sure it’s all flushing through correctly. You may need to prime your pump and turn on the air relief valve on your filter to release any trapped air. If you didn’t winterise your pool you can skip this step.
Treat and test your pool
Firstly, you should treat your pool water for any metals that have built up over the winter, which can cause unsightly stains and discolouration. Once this has been completed and cycled through, you should test your pool water for total alkalinity, pH, calcium hardness and chlorine levels. Use a high-quality testing kit to ensure the most accurate results.
Chances are, after a long period of dormancy, things won’t be quite right to start with, but that’s not a problem. Start by addressing the total alkalinity, adjusting up or down as necessary using an acid or alkaline treatment, waiting at least 4 or more hours before re-testing.
Then you can adjust your pH balance, as required. Getting the total alkalinity under control should do most of the hard work for you, but a small amount of tinkering may be required. A little more acid or some soda ash should help you get the pH within the appropriate ranges. Again, you will have to wait at least 4 hours after adding the treatments to make sure they are thoroughly circulated.
Once these levels are up to par, wait 24 hours before treating your pool for calcium hardness. You can buy hardness-increasing treatment online or from your local pool maintenance supplier. This is important: if your water is too soft it will corrode your pool and equipment. Too hard, and it will leave scaly calcium deposits.
Clean your pool
No matter how careful you were when you removed the cover, there will be some dirt and rubbish left behind on your pool surfaces, steps and ladders. Give everything a thorough brushing and vacuuming to remove the worst of it, then run your filtration system overnight to deal with the rest.
Shock the pool
No, I don’t mean sneak up on it and give it a fright! “Shocking” the pool refers to chlorine-treating it with a larger-than-usual quantity of chlorine to kill any built-up bacteria, chloramines and algae.
Be sure to wear protective gear and clothing you don’t mind ruining – if you’ve worked with chlorine before you know how badly it can bleach your clothes! Prepare your chemicals according to the manufacturer’s instructions, mixing them in the appropriate measurements for your pool size. Granular shock and liquid shock will need different preparation methods, so check carefully.
Pour the prepared and measured shocking solution into your pool as per the instructions – this may mean even dispersal around the edges or dumping it close to the jets. You will then usually leave it at least overnight to work its magic, if not longer. This will also allow any last particles to filter through your system.
Check, check and check again!
Once the dust has settled form the shock treatment you’ll want to check all of your levels again and make any final tweaks. This is really important before you open you pool, as the wrong levels can be dangerous for anybody making use of your pool. pH checks are especially important, as if it is too high your shock will have been a waste of time.
Once the correct levels have been stabilised you can open you pool for the spring!
Owning a swimming pool is a delight, but careful maintenance is essential. Check out our swimming pool zone to keep up to date with the latest regulations and advice for maintaining your swimming pool in France.
Share to: Facebook Twitter LinkedIn Email
Related Articles


Leave a reply
Your email address will not be published. Required fields are marked *