Diary of a Corrèze Conversion – Part 3

Setting up a Limousin cycling business -Roofing the Barn
Having obtained planning permission and booked the carpenter we started our grand design by stripping off the corrugated iron roof of the barn revealing the original old timbers and the first problem.
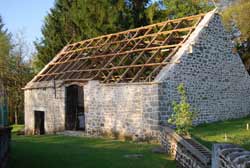
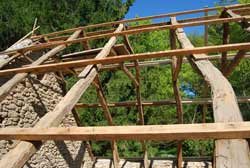
The architect had planned a simple roof following the lines of the old one. Revealing the timbers also revealed how much the iron panels had been bent into shape to fit. As the new timbers that would support the old structure and hold the slates would not be so forgiving we had to quickly redesign the front elevation of the barn to conceal the fact that nothing was straight.
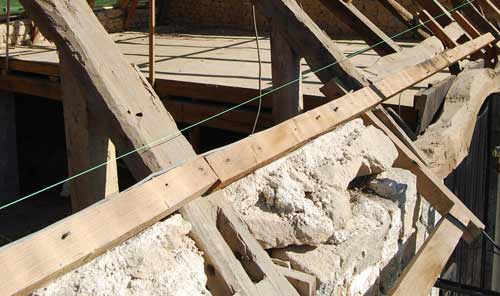
A stringline shows how much the roof and walls were out of line
Tim (carpenter and roofing guru) and I decided to elevate the central third section of the roof above the main barn door to break up the line so that the roofs either side could run into it at slightly different heights. This would disguise the wall height difference of 400mms either side of the opening. I then added a classic dormer for the new salon window to replace the architects planned ultra modern dormer style Velux, something we had never been very happy with. This involved an amendment to the planning permission which I was able to do myself, and the Mairie was happy to let us continue with the build while the amendment went through.
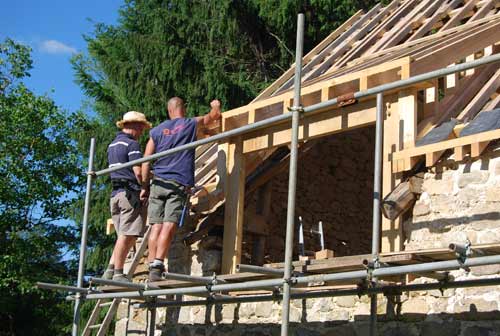
Forming a Dormer
Tim and James built a new timber frame over the existing beams, bolting it all together. A new greenoak supporting frame was incorporated later into the interior structure of the barn to support the additional weight of the frame and slates from beneath as extra insurance. The new frame was then covered with ‘Actis Iso Boost’ a reflective membrane that would keep the barn cooler in summer and reflect heat back into the barn in winter. This would be used in conjunction with 200mm of standard Laine de verre (rockwool) to give an R value (energy efficiency rating) of 7.

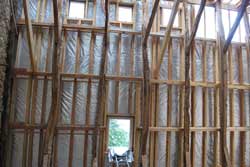
Having researched all the options for insulating the roof we felt that this was the best compromise. Actis also manufacture a product which would insulate and reflect at the same time giving an R value of around 5, however as there was so much controversy on the web about the actual tested results we felt that we would be better to hedge our bets by using the combination.
Once the Actis Boost was stapled, battened and taped in place a further layer of battens was put up that would hold the slates.
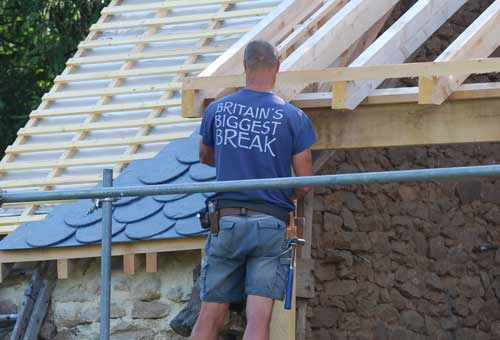
Having originally thought that we would use recycled car tyres formed into slate shapes for the roof, we were pleasantly surprised to find that we would be able to get real Spanish slates at half the price from a local supplier. The ‘eco’ tyre slates would also have to come from the USA via Ireland, adding on the carbon miles. A tip from our neighbour then helped us to find even better quality Spanish slates with a classic rounded shape at a lower price, so it was worth shopping around.
James, formerly a financial analyst, was then ready for his first slating lesson. We had chosen to employ Tim on a monthly labour contract rather than on a fixed price contract for the roof. This enabled James to be able to add in his ‘free’ labour and learn a new trade as he went along. Tim proved an excellent and patient teacher and James was soon forming in Velux windows and vents, and learning the importance of string lines.
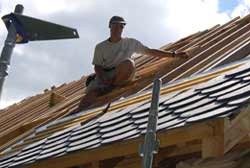
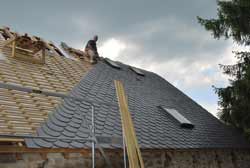
We originally planned to use wire crochets to hook the tiles onto the battens – a fast and effective solution. However as we had been able to get bigger and better quality tiles it was soon apparent that the crochets would not work well on the thicker tiles. Tim had the solution – knock two holes in each of the tiles and use galvanised slating nails to put them up, simple. Of course more labour was required for this – we didn’t want to pay Tim to hole slates, so this became my main occupation. In total by then end of the roofing I would hole 14 pallets each containing just under 700 tiles.
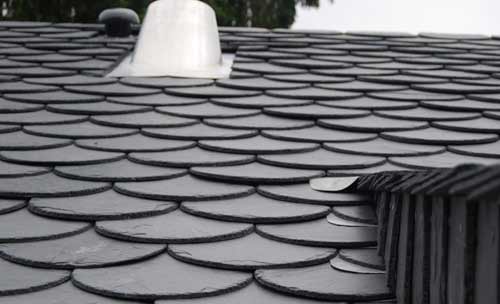
As the summer progressed, working on the roof got rather uncomfortable in the heat and Tim burnt his thighs fixing the ridge! Any visitors were pressed into service moving tiles to where they were needed. I also found that fresh baked cakes served at tea time were a good motivator for the workers. Finally as we moved into September after almost 4 months the last tile was put on, the ridge finished and it was time to move on to constructing the extension that would link the barn and the house……
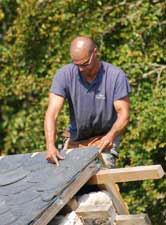
The Last Tile
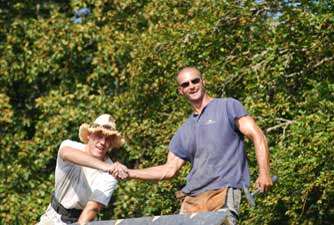
Job Done
To be continued……………
You can read part 1 of Sam’s story here
You can read part 2 of Sam’s story here
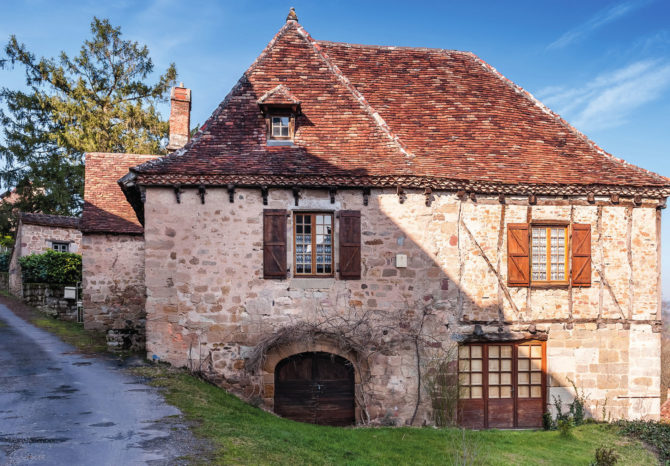
Lead photo credit : The perched village of Curemonte in Corrèze is one of the ‘Plus Beaux Villages de France’
Share to: Facebook Twitter LinkedIn Email
More in businesses, courses, cycling, insurance, learning, summer, work
By FrenchEntrée
Leave a reply
Your email address will not be published. Required fields are marked *


